EarlyParrot integrates directly with Infusionsoft. EarlyParrot via its integration with Infusionsoft can:
- populate custom fields for any contact in Infusionsoft CMS
- add tags to any contact in Infusionsoft CMS
How to integrate Infusionsoft?
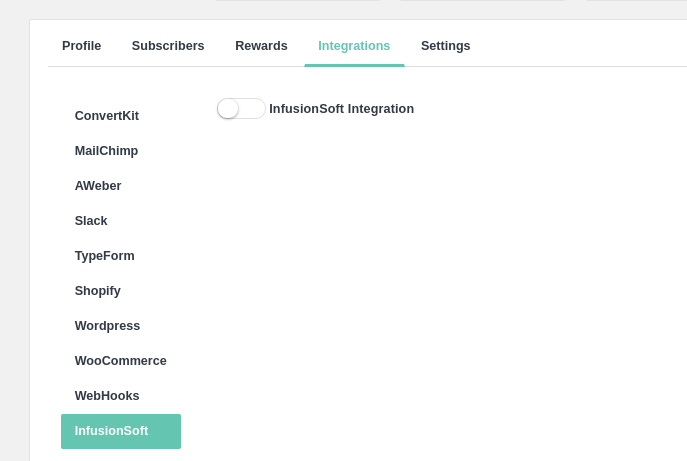
To integrate Infusionsoft with EarlyParrot, go to the integration section and choose Infusionsoft tab. Click on the Infusionsoft Integration switch to start your integration.
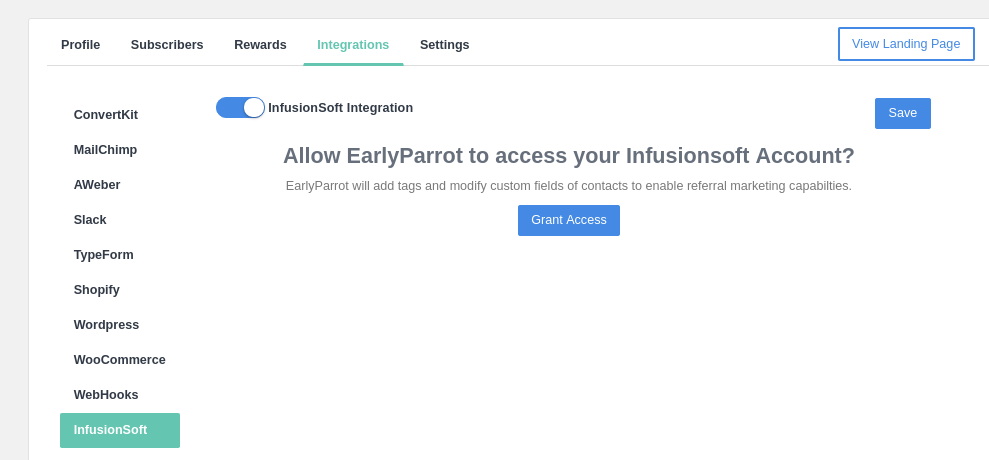
On switching on Infusionsoft Integration, click on Grant Access button
A new tab will open, redirecting to Infusionsoft. Infusionsoft will ask you to log in and grant access to EarlyParrot integration application.
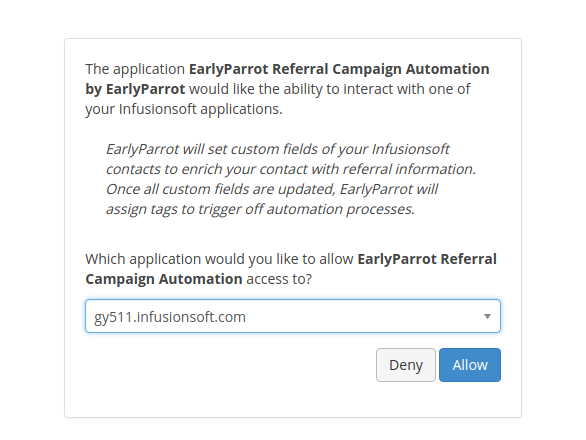
On clicking Allow button, you will be redirected again to EarlyParrot integration tab, where you have to once more click on Infusionsoft integration switch.
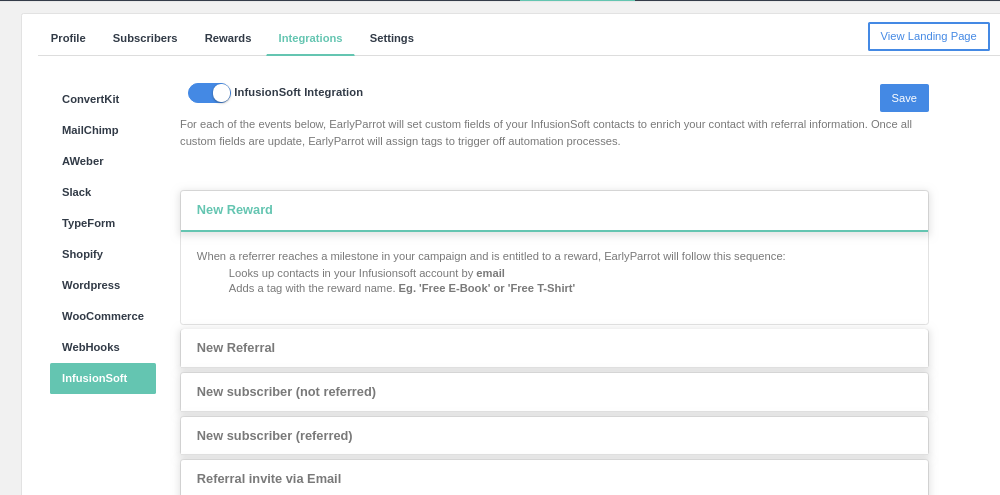
If the integration setup was successful you will be able to see different accordions with several settings as follows.
There are two kinds of settings that EarlyParrot will require:
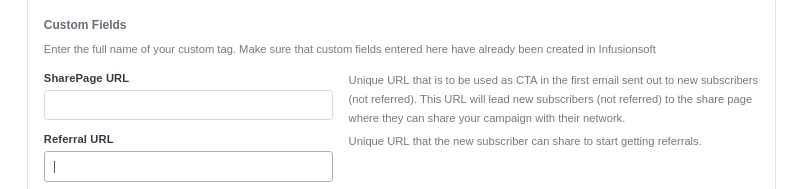
- Custom field name (please make sure you get the database name)
- Tag IDs
EarlyParrot will populate custom fields and add a tag whenever an event happens. For instance, when a new reward is given out to a referrer, EarlyParrot will:
- create a new tag if it does not exist with the reward’s name
- add that tag to the contact in Infusionsoft
By populating custom fields and adding tags, EarlyParrot can trigger automation on Infusionsoft.
How to create a custom field and add it to EarlyParrot settings?
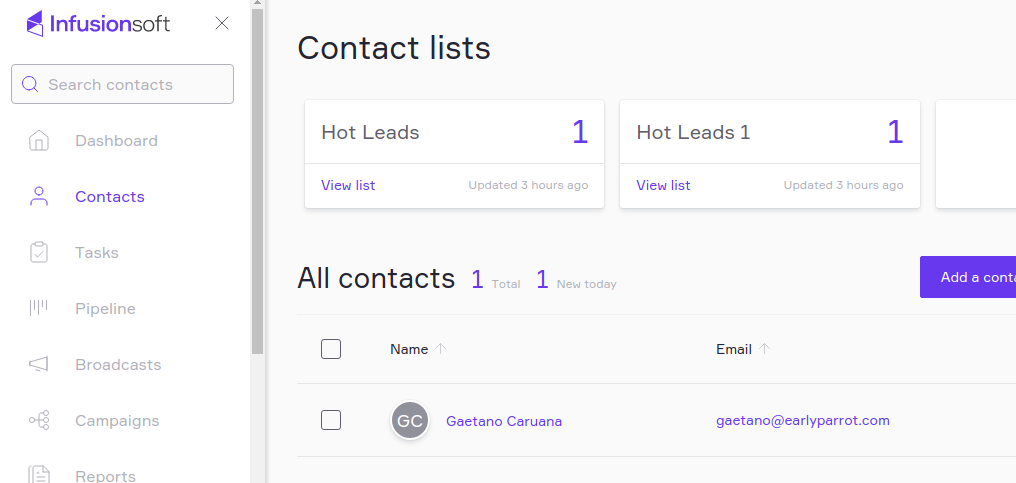
Log into your Infusionsoft account and go to the contacts screen.
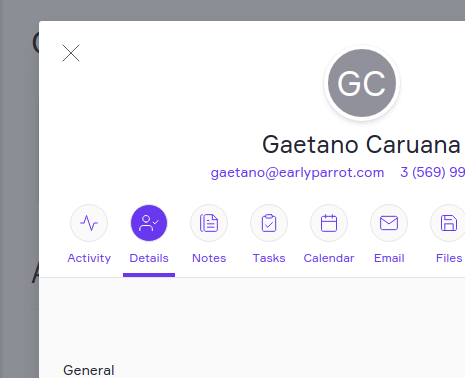
Click on any contact and go to the details tab.
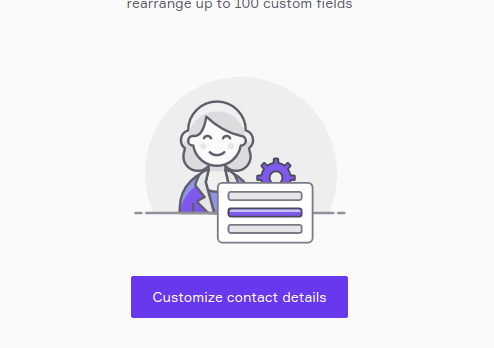
Scroll down and click on Create Custom field button.
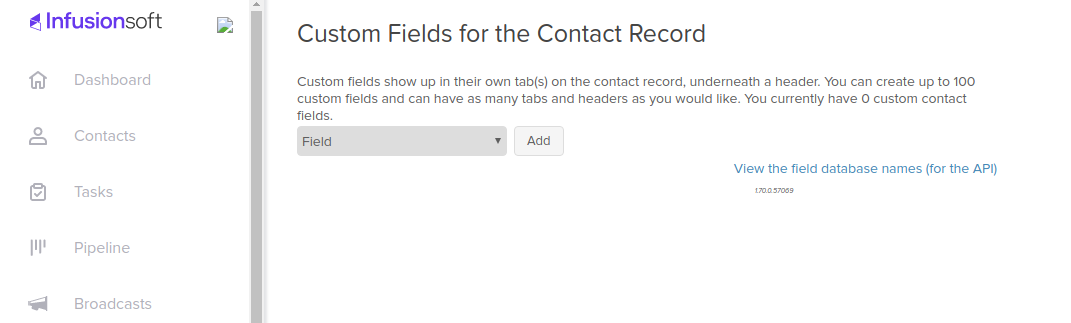
When in custom field screen, click on add custom field button.
Enter the desired name of the custom field and click on save.

On creation a new custom field, please make sure to get the database unique name of the custom field by click on the link View database names.
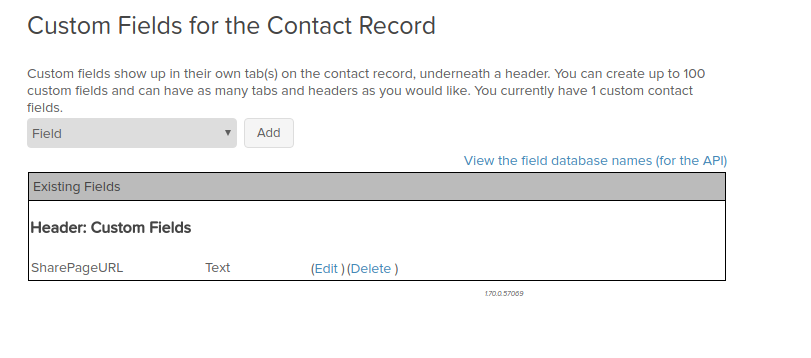
Get the custom field database name and add it to your EarlyParrot settings.
Click Save button, to save the Infusionsoft integration.
How to create a tag and add it to EarlyParrot settings?
Log into your Infusionsoft account and go to the settings screen.
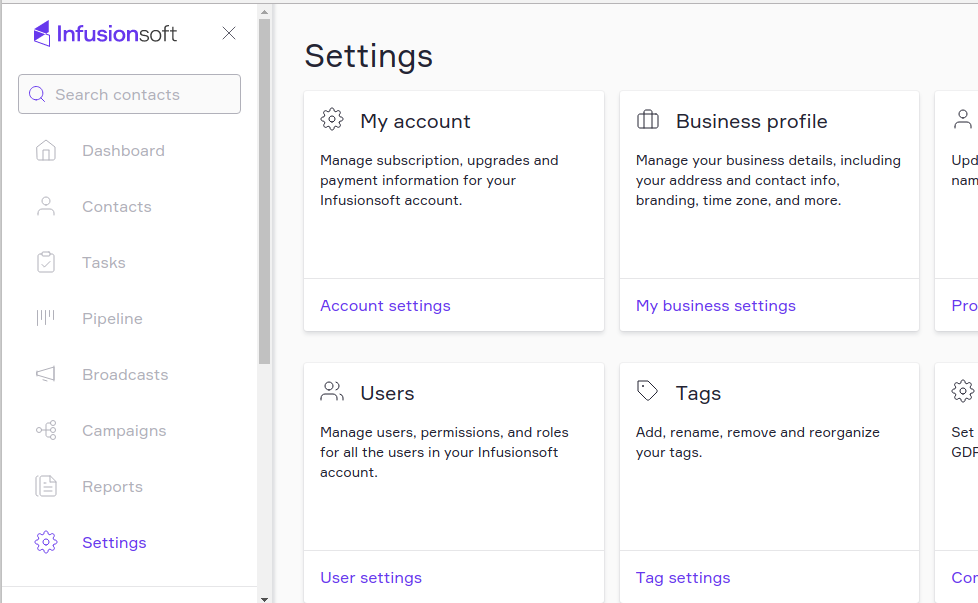
In the settings screen choose Tag Settings.
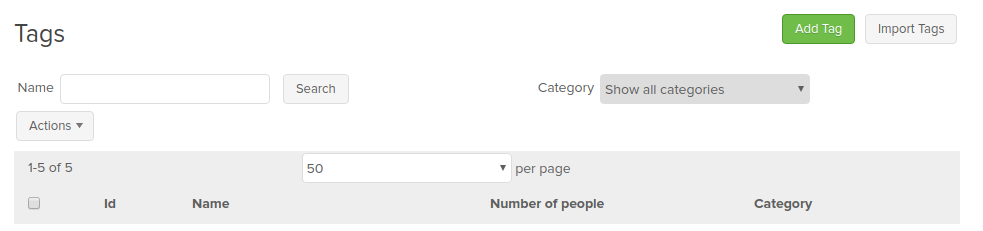
In the tag screen, click on Add Tag button to create a new tag.
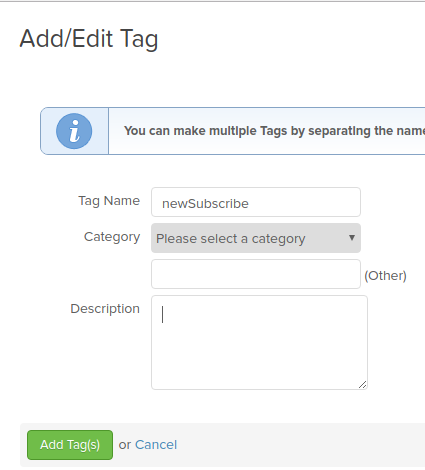
Once the tag is created, get the Id of the tag.
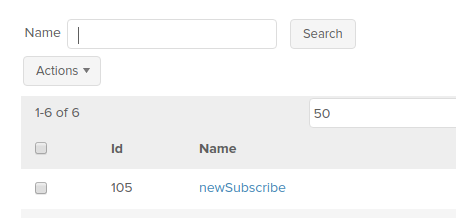
Put the Id of the tag into EarlyParrot settings.

In this case, when EarlyParrot gets a new subscriber, it will first populate the custom fields and then add the provided tag Id to trigger off automation.
How to add subscribers to both Infusionsoft and EarlyParrot?
Please note that EarlyParrot will not add subscribers to your InfusionSoft account. EarlyParrot will only add tags and populate custom fields to your Infusionsoft contacts, assuming that the contact already exists. This means that your existing sign-up flow by which subscribers are added to your Infusionsoft account via an Infusionsoft form should remain as is.
This can be easily achieved by adding a Javascript code to your sign-up page. Through this Javascript code, new subscribers are submitted to EarlyParrot prior being submitted to Infusionsoft. EarlyParrot will wait for 1 minute before populating the initial custom fields and adding the first tags, giving enough time to Infusionsoft to process the new contact.
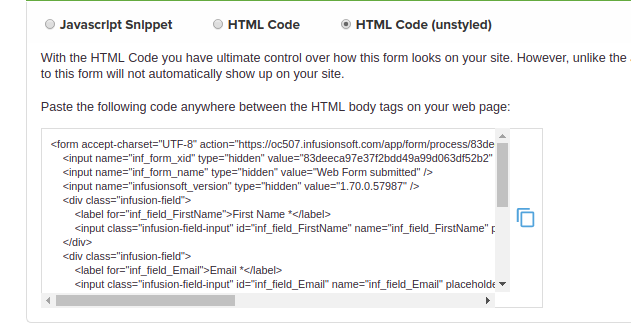
The following example assumes you have an Infusionsoft generated form like this one.
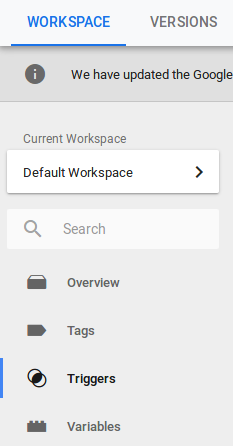
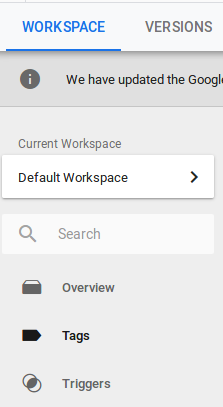
Log into your Google Tag Manager and go to Triggers tab.
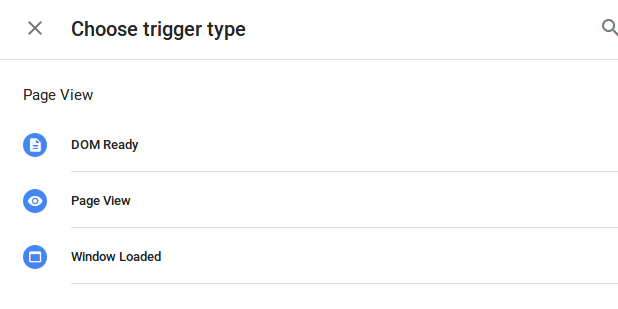
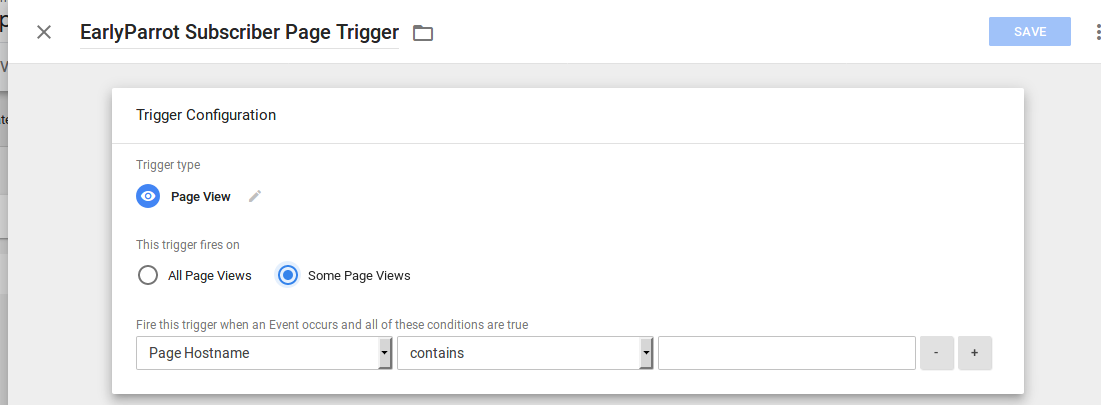
Create a new trigger new Page View trigger.
Call it EarlyParrot Subscriber Page Trigger. Set the trigger condition to make sure it triggers only on the subscribe page URL.
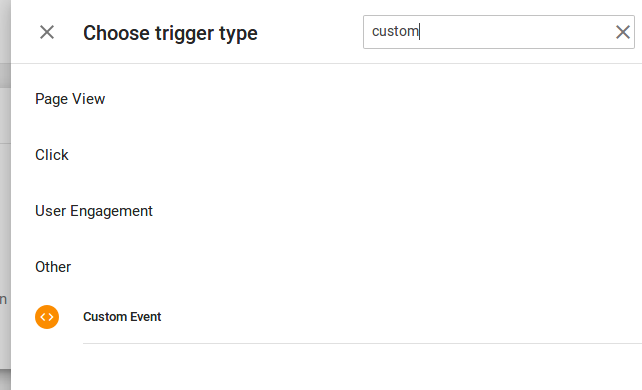
Once done, create another trigger. This time a custom event trigger.
Then go the tags tab.
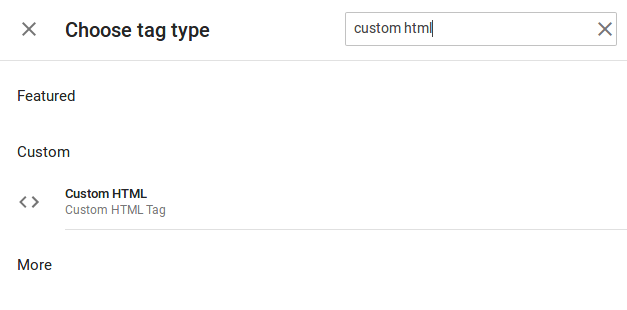
Create a new Custom HTML tag.
Call the first tag EarlyParrot Subscribe Call Step1. This tag loads the required scripts for the next tag.
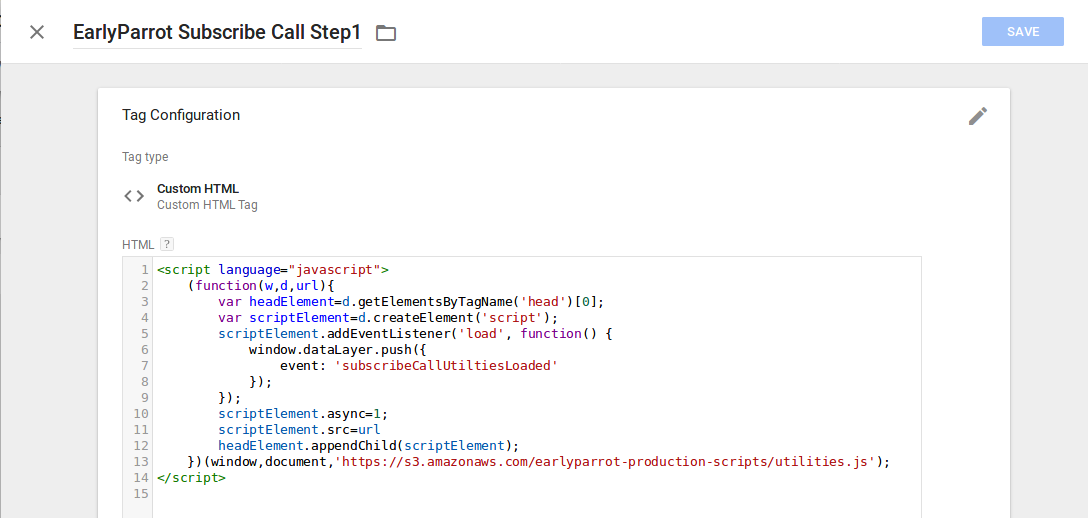
The following is the HTML code for EarlyParrot Subscribe Call Step1.
<script language="javascript">
(function(w,d,url){
var headElement=d.getElementsByTagName('head')[0];
var scriptElement=d.createElement('script');
scriptElement.addEventListener('load', function() {
  window.dataLayer.push({
  event: 'subscribeCallUtiltiesLoaded'
});
});
scriptElement.async=1;
scriptElement.src=url
headElement.appendChild(scriptElement);
})(window,document,'https://s3.amazonaws.com/earlyparrot-production-scripts/utilities.js');
</script>
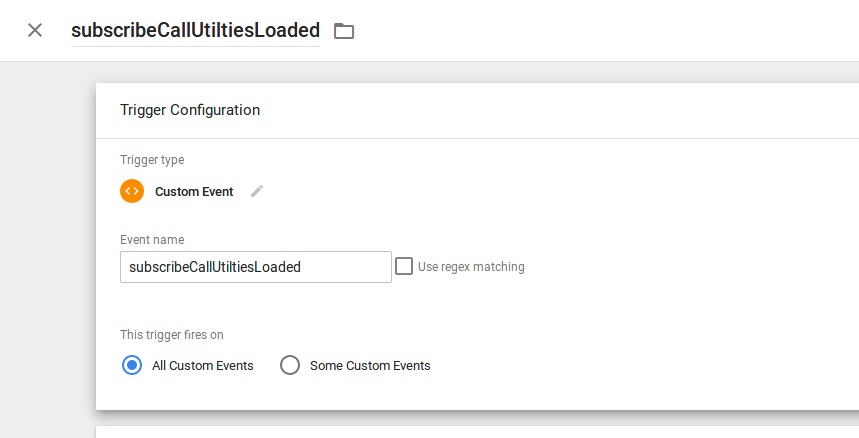
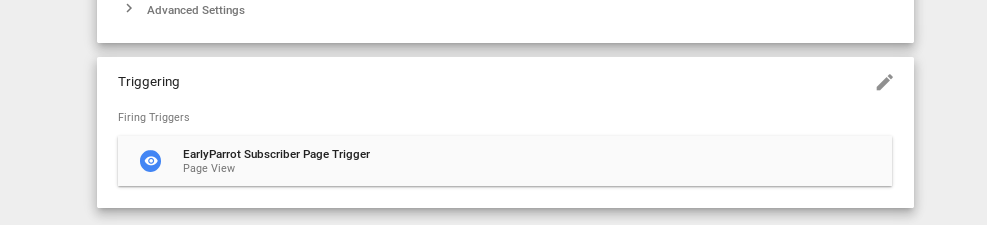
The trigger for EarlyParrot Subscribe Call Step1 must be as follows:
Create another Custom HTML tag and call it EarlyParrot Subscribe Call Step2.
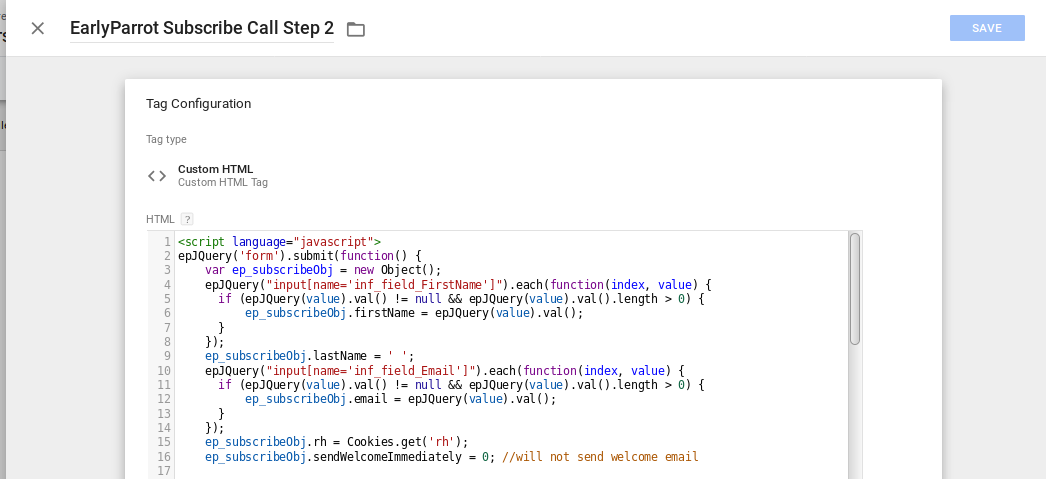
The following is the HTML code for EarlyParrot Subscribe Call Step2.
PLEASE MAKE SURE YOU REPLACE:
- YOURDOMAIN.com with your domainname
- YOUR_CAMPAIGN_ID with your campaign id.
- YOUR_JQUERY_SELECTOR is the JQuery selector to get the first name and/or email
<script language="javascript">
epJQuery('form').submit(function() {
var ep_subscribeObj = new Object();
epJQuery("YOUR_JQUERY_SELECTOR").each(function(index, value) {
if (epJQuery(value).val() != null && epJQuery(value).val().length > 0) {
ep_subscribeObj.firstName = epJQuery(value).val();
}
});
ep_subscribeObj.lastName = ' ';
epJQuery("YOUR_JQUERY_SELECTOR").each(function(index, value) {
if (epJQuery(value).val() != null && epJQuery(value).val().length > 0) {
ep_subscribeObj.email = epJQuery(value).val();
}
});
ep_subscribeObj.rh = Cookies.get('rh');
ep_subscribeObj.sendWelcomeImmediately = 0;
Cookies.set('epSubmitEmail', ep_subscribeObj.email, { domain: 'YOURDOMAIN.com' });
epJQuery.post("https://admin.earlyparrot.com/api/campaigns/YOUR_CAMPAIGN_ID/subscribe", ep_subscribeObj)
.then(function(data) {
//JSON object returned by subscribe call
var userFirstName = data.user.firstName;
var userLastName = data.user.lastName;
var userEmail = data.user.email;
var sharePageURL = data.sharePage;
window.dataLayer.push({
'userFirstName': userFirstName,
'userLastName': userLastName,
'userEmail': userEmail,
'sharePageURL': sharePageURL
});
});
});
</script>
The trigger for EarlyParrot Subscribe Call Step2 must be as follows:

How to import existing Infusionsoft subscribers?
Simply export all your contacts to CSV and follow these instructions. Make sure that the Welcome Email is switched off in Branding step in the campaign create/edit wizard. Failure to do so will result in EarlyParrot sending out a welcome email to all your subscribers, causing a lot of unnecessary confusion.